
Assembly Instructions
Your order will include detailed assembly instructions, but if you want an overview you've come to the right place!
The blöks
-
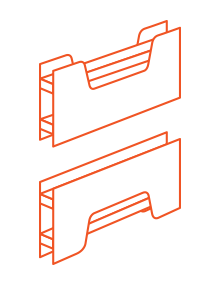
U-blöks
The U-blöks are for the bottom and top of your walls.
-
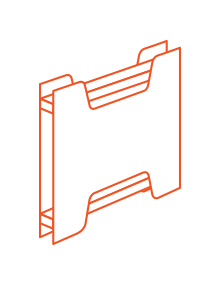
H-blöks
H-blöks are for stacking, add as many as you like to make the wall the right height.
-
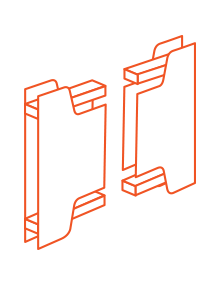
T-blöks
T-blöks go on the ends of your wall so that everything fits together nicely.
-
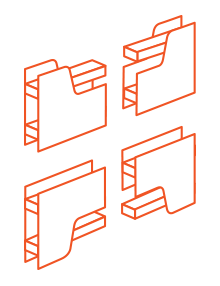
L-blöks
L-blöks are much like T-blöks helping fill in the smaller spaces at the end of your wall near the top and bottom.


Assembly
-
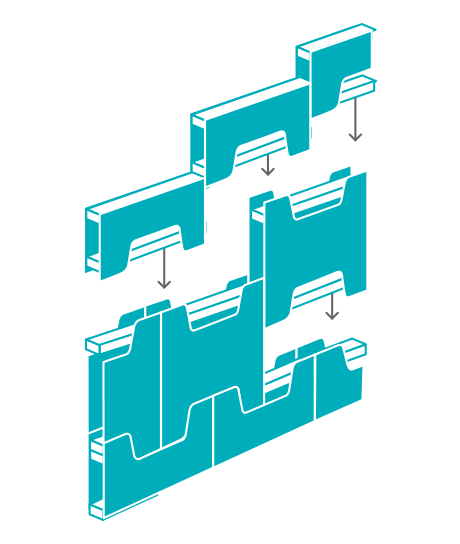
1. Stack 'em
Start with U-blöks & L-blöks for your layout. Once you have the bottom row, then use H-blöks & T-blöks to build your wall to the correct length and height.
Finish the top row with U-blöks & L-blöks just like you did on the first row.
-
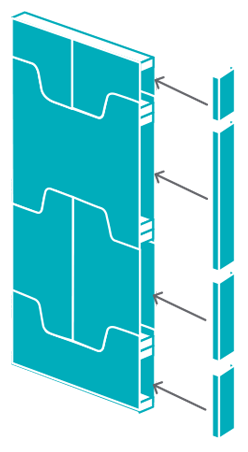
2. Add Finish Pieces
Anywhere the wall ends or where there is a 90 degree angle, you'll want to add the finishing pieces. Simply put them in place.
If you're attaching two walls together, use the screws & screwdriver that was included in your order.
-
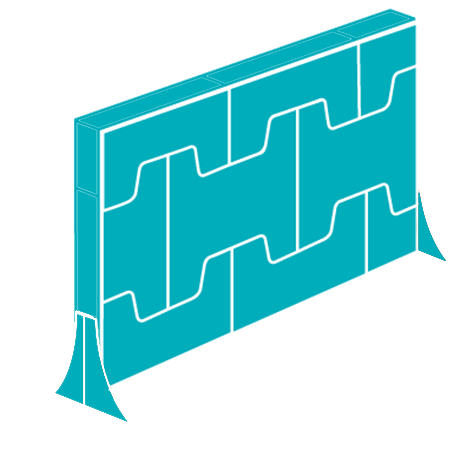
3. Add Feet (when necessary)
If your wall isn't touching a structural wall, you'll want to add the feet so that it doesn't tip over. Use the screws & screwdriver that was provided in your order.
-
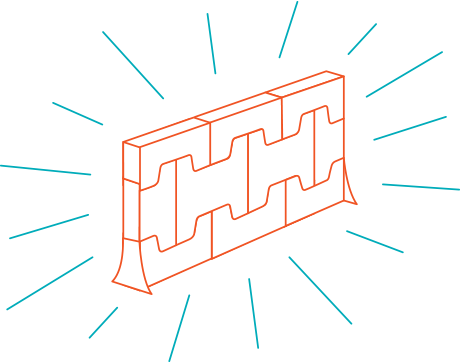
4. Admire Your Handy Work
That's it! You can relax and admire your handy work.


